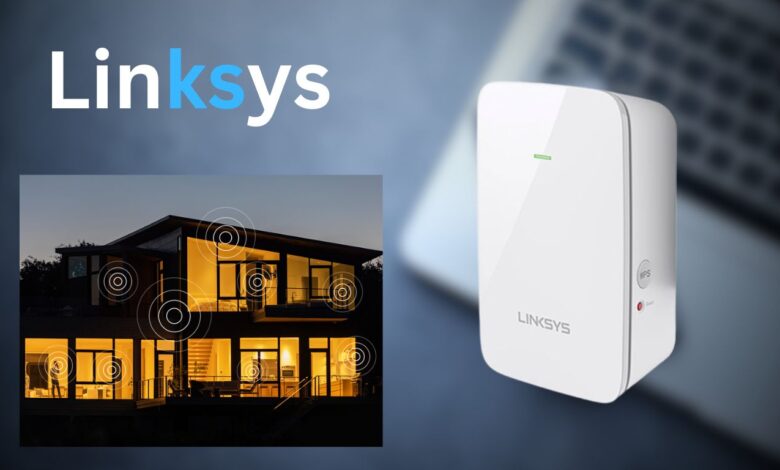
Want to Complete Linksys WiFi Extender Setup? Let’s Do It!
How to Connect Hardware Connections?
Are you not able to complete the Linksys WiFi extender setup properly? Don’t worry we will help you to do it without any error. Here you will go through simple steps that will help you to complete the setup. Login process is also an important part of the setup; you will walk through this part as well. Let’s start it.
How to Connect Hardware Connections?
To start the installation process you have to connect the extender to the router. To connect, you have to follow these small paragraphs written down here.
Pick an Optimal Location
You have to choose a right spot that is close to the router and far away from the electronic things. Don’t place the extender near to the fish tanks, concrete walls and metal things.
Connect Extender to Router
To turn on the extender first you have to connect the router to the extender. You can connect WiFi extender to router without WPS using the Ethernet cable. You have to use cable which is in good condition. Then you have to locate the LAN port of the router and WAN port of the extender, and then connect the network cable to ports.
Plug in WiFi Repeater
After connecting the cable to the ports, you should give power to the extender by plugging it in a power socket which should be in good condition. If it is not then you can change the location or call an electrician to fix it. Now, turn on the router first and then the WiFi extender.
When you completed the hardware connections and turn on the extender, then you have to log in to the Linksys WiFi extender.
How to Access the Linksys Repeater?
After turning on the extender you can step onto the next part which is accessing the interface of the Linksys WiFi repeater.
1. To access the interface, you have to connect your computer to the extender.
2. Then you have to open any web browser in your desktop and locate the address bar.
3. Enter the login URL which is extender.linksys.com or you can use the login IP address 192.168.1.1 in to the address bar.
4. Hit the Enter key. Now you will reach the login page of the Linksys extender.
5. You have to username and password to login.
6. You can use the user manual that comes with the Extender to enter the user details.
7. Hit the Enter key again. Now, you will see the main dashboard of the interface.
8. Here you can manage the settings and network of the extender. You can also update the firmware of the WiFi repeater.
9. Also, you can assign a new password to the network.
You also can complete the setup by logging into the Linksys WiFi extender using your mobile via Linksys app. Let’s take a look how you can access the interface using the app.
Login Via Linksys App
To access, you have to connect your internet device like smartphone or iPhone to the network of the repeater and then download the app. To install the app you should follow these easy steps.
- Open the Play store app in your smart phone and navigate the search bar of on the top of the screen.
Now enter Linksys app in the search bar and search it. - On the screen, you will see the download option and information regarding the latest versions of the app.
Go through the app information and just download the app. - Install it on your device and open it. In the app, you have to fill the Username and password blanks.
You can use the user manual to fill them. Then tap next. You will reach the main interface dashboard of the extender. - Now, you can manage the settings and network of the WiFi repeater. You can update the firmware of your extender as well.
The Last Words
With the help of this article, you have learned how you can complete the Linksys extender setup. We’ve also explained you how you can connect WiFi extender to router without WPS and how to login using your computer and mobile phone. We hope you have successfully installed the Linksys WiFi repeater without facing any errors and experiencing a speedy internet connection.


